



Bring Mods to Your Valheim Server 🛠️
You can install BepInEx mods on your Valheim dedicated server directly through your xREALM dashboard. Follow these steps to get started.
⚠️ Some mods can increase your server’s RAM usage. If you experience performance issues while using mods, consider upgrading your server’s RAM.
1. Switch Your Server to BepInEx ⚙️
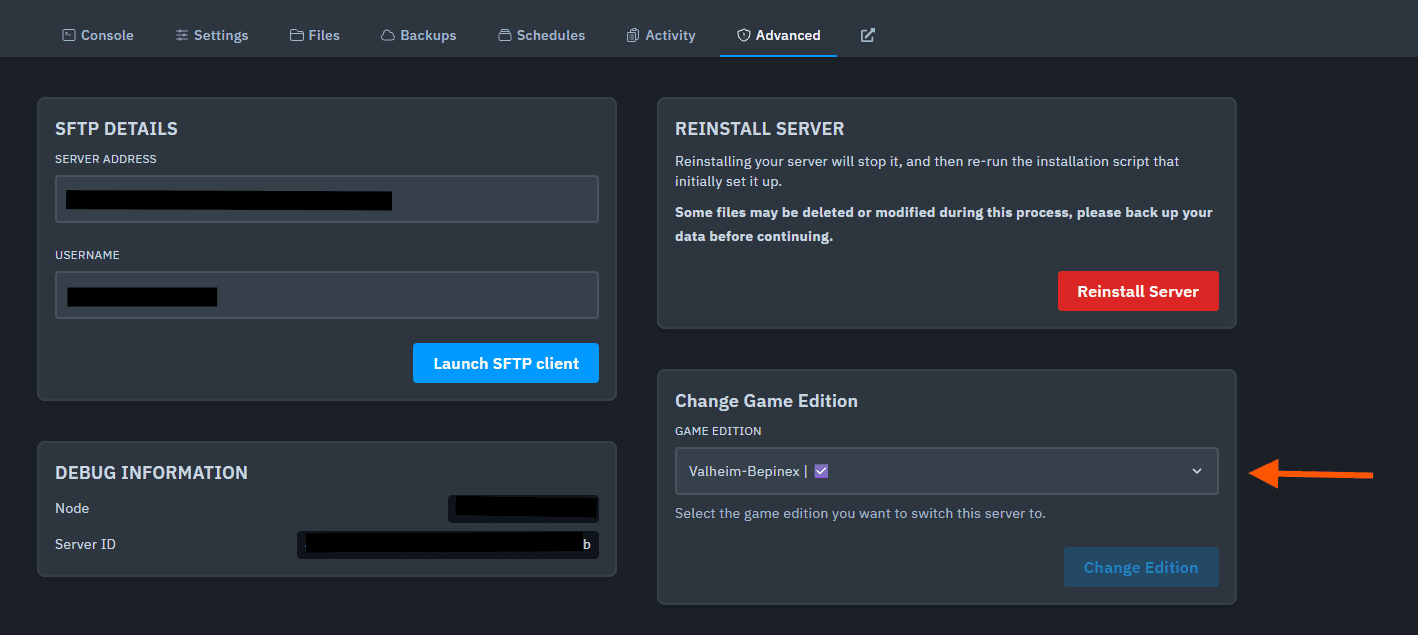
Open your server dashboard and navigate to the Advanced tab. Change the server version to BepInEx.
2. Start Your Server Once ▶️
Start the server once. This allows BepInEx to generate the required files and folders.
Once the server has finished starting, stop it before uploading your mods.
3. Upload Your Mods 📂
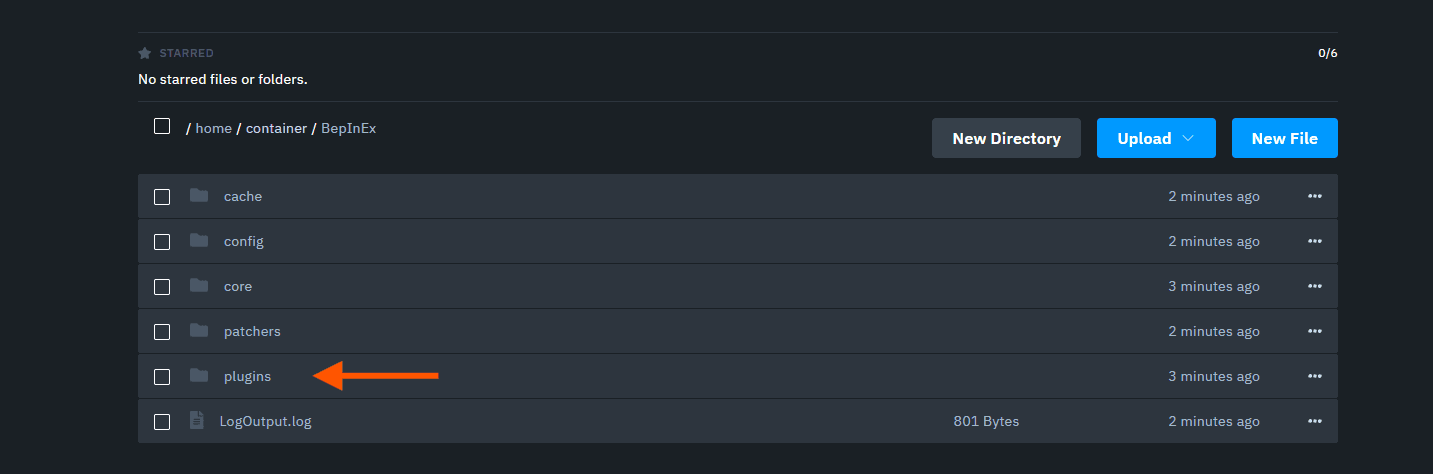
Open the File Manager, navigate to the BepInEx folder, then open plugins:
BepInEx/plugins
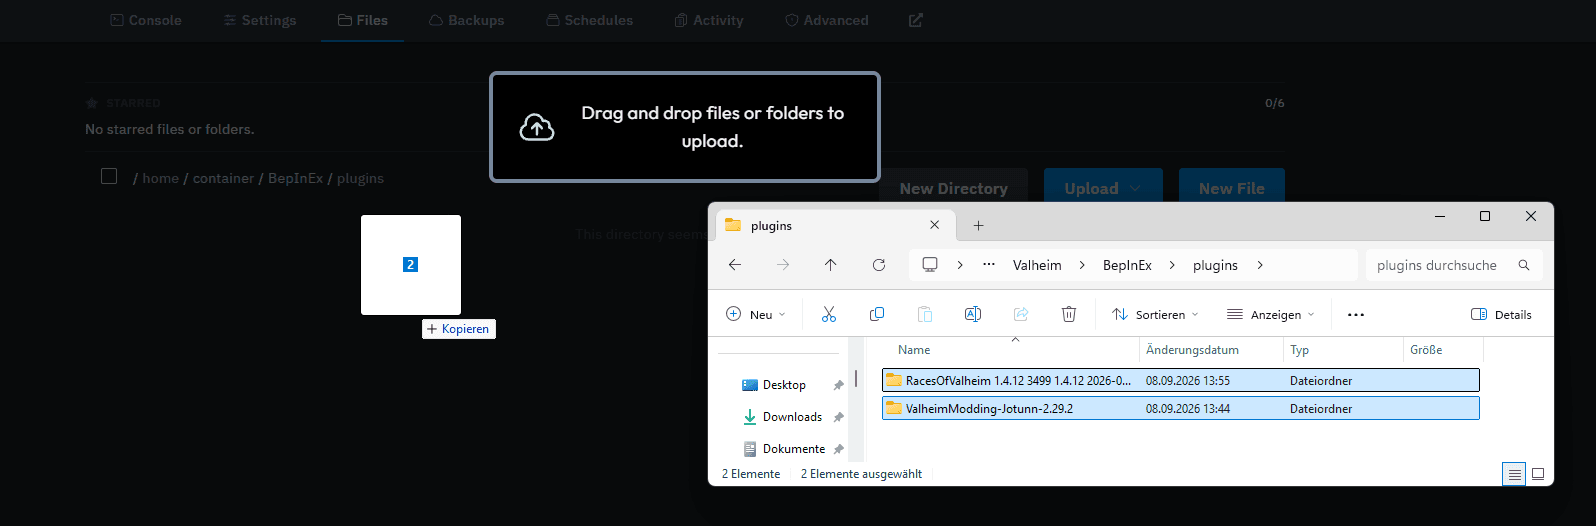
Drag and drop your BepInEx mod files into this folder.
4. Start Your Modded Server 🚀
Wait until all mod files have finished uploading, then start your server.
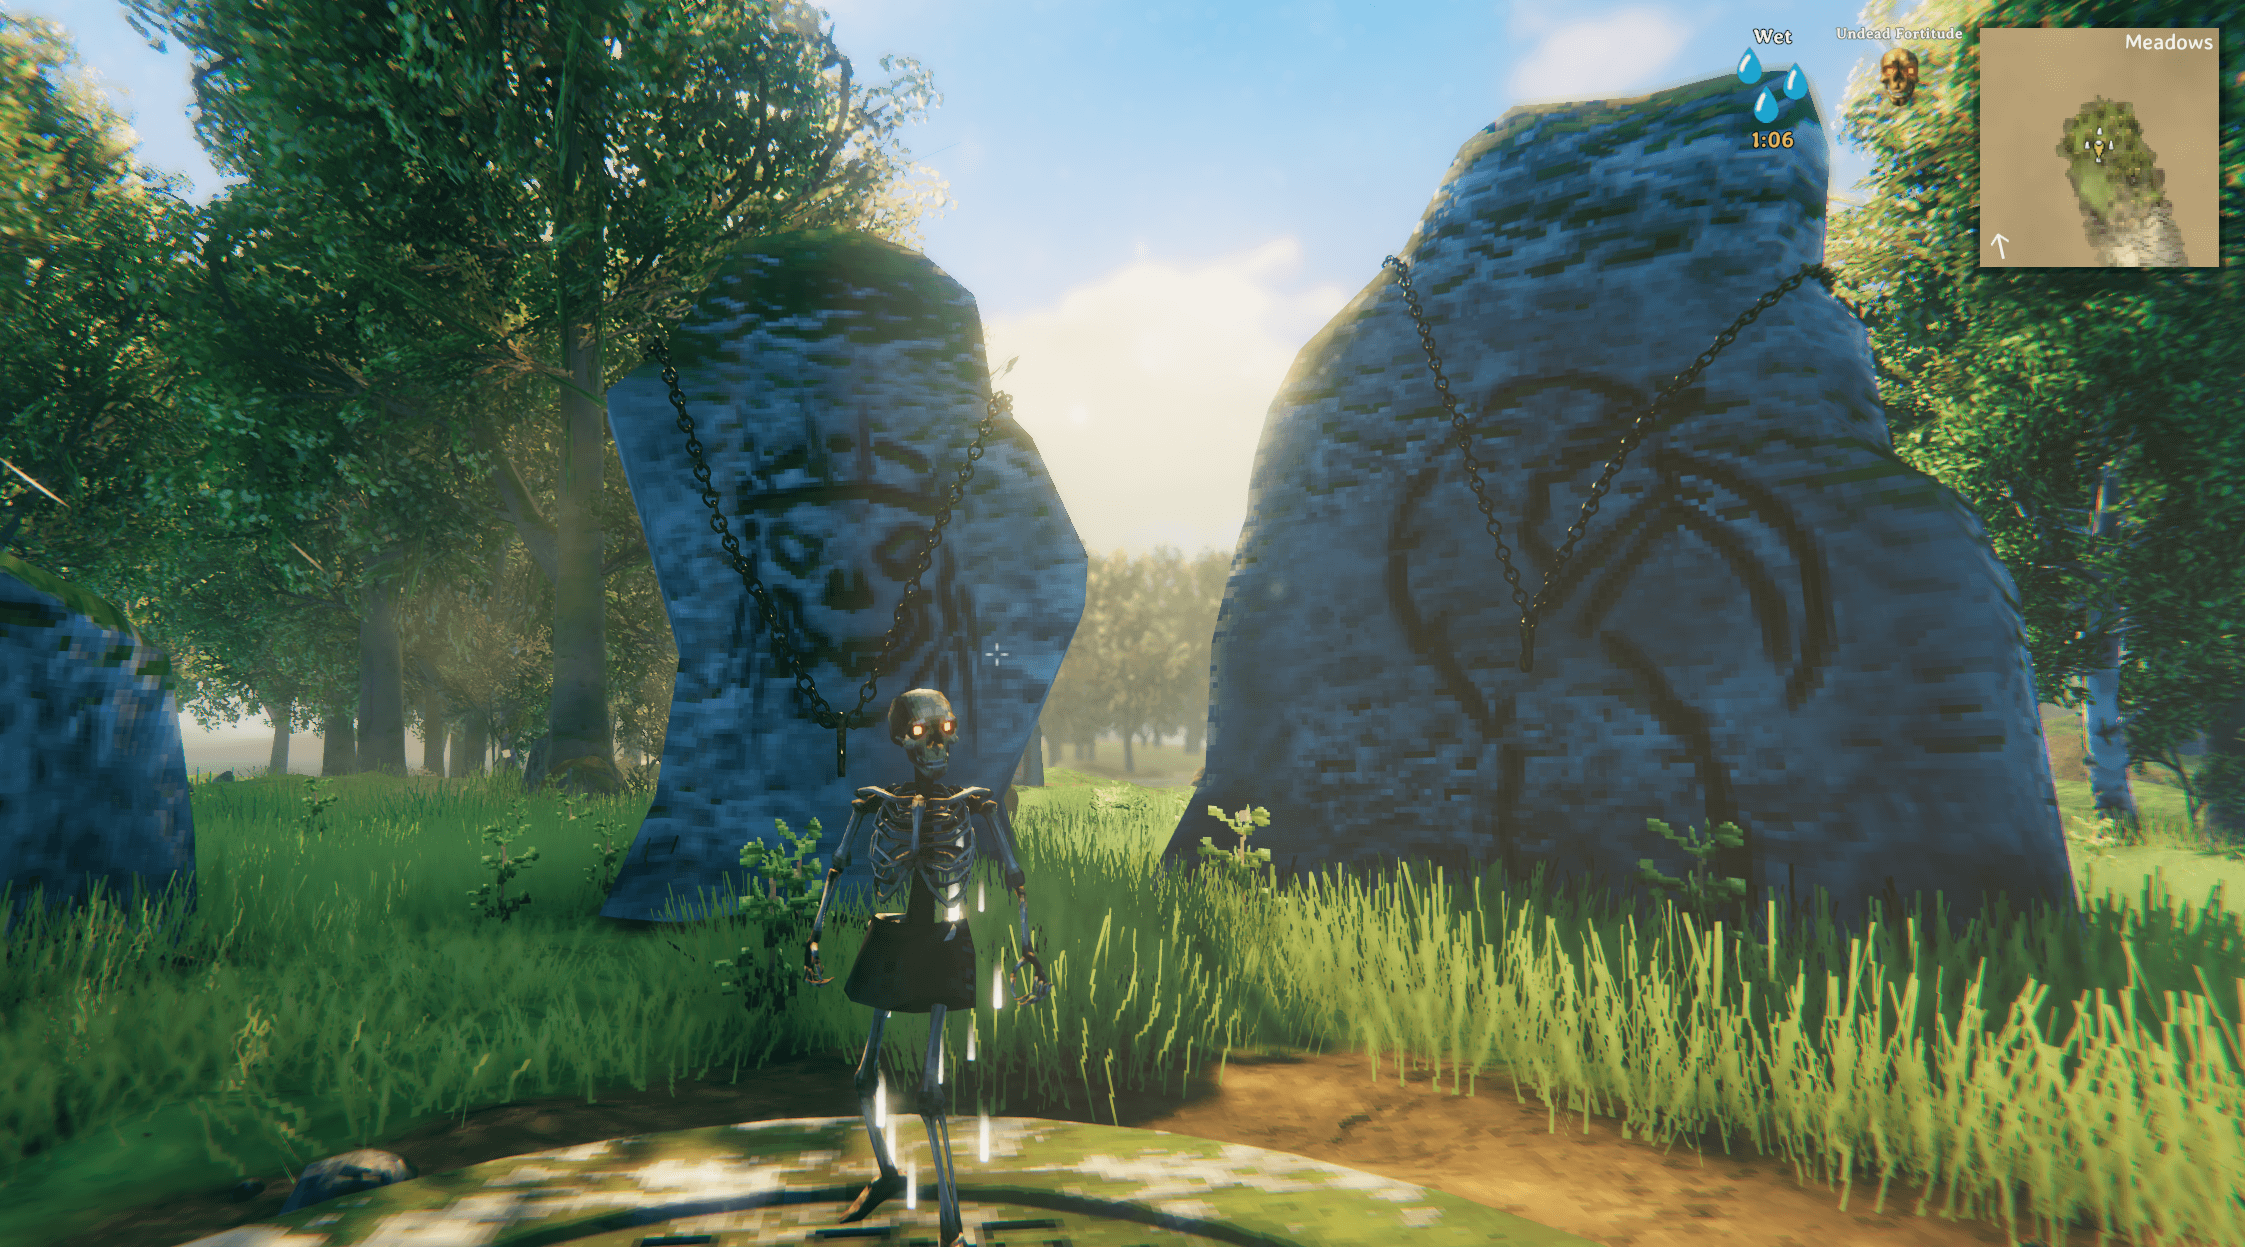
Now you can play as a Skeleton ;)
Important: Install the Mods on Your PC Too ⚠️
For this setup, every player should install BepInEx and the same mods used on the server locally, with matching versions.
Use a separate mod profile for this server and avoid adding extra mods, as incompatible mods or version differences can prevent you from connecting.
Some mods are specifically designed to run only on the server or client. Follow the installation requirements provided by each mod’s author.